 BlueStacks is the first production software that
allows you to use your favorite mobile apps on a Windows PC. You can download
apps like Angry Birds Space,
 STEPS TO INSTALL WhatsApp ON YOUR PC
Step 1 - Installation
I'll consider this as a
simple task. What you have to do is just download and install the BlueStacks
App Player. For anyone who doesn't know what is it, BlueStacks is just an
Android app player, a Virtual Machine wrapped for your PC (or Mac) with which
you can run from games to regular apps, for Smartphones and/or tablets.
Click here to download
Click here to download
Step 2 - App Stores
After you finish installing
it what you have to do is downloading and installing WhatsApp right? But, to
accomplish it from any Android Smartphone or Tablet, normally you go to the
Play Store and then you search for WhatsApp and after you download and install
it. Yeah. pretty the same thing, but here you do not have the Play Store Having
it means you have been certified from Google, but hey BlueStacks is not a
Smartphone or Tablet, so they have to fill the gap, and this is totally done by
their 1Mobile Store. You can find it by clicking on "App Stores" on
top and after that 1Mobile app.
Step 3 - Download, Install and Configure WhatsApp
So, you opened 1Mobile app
store and you found that is pretty similar to Play Store yeah? You're right Go
fire the search button in the top-right corner of BlueStacks screen and write
inside "WhatsApp" and press Enter. You'll be returned with a list of
apps matching that name, inside of if you'll find Whatsapp, click on it and
then click the Download button.
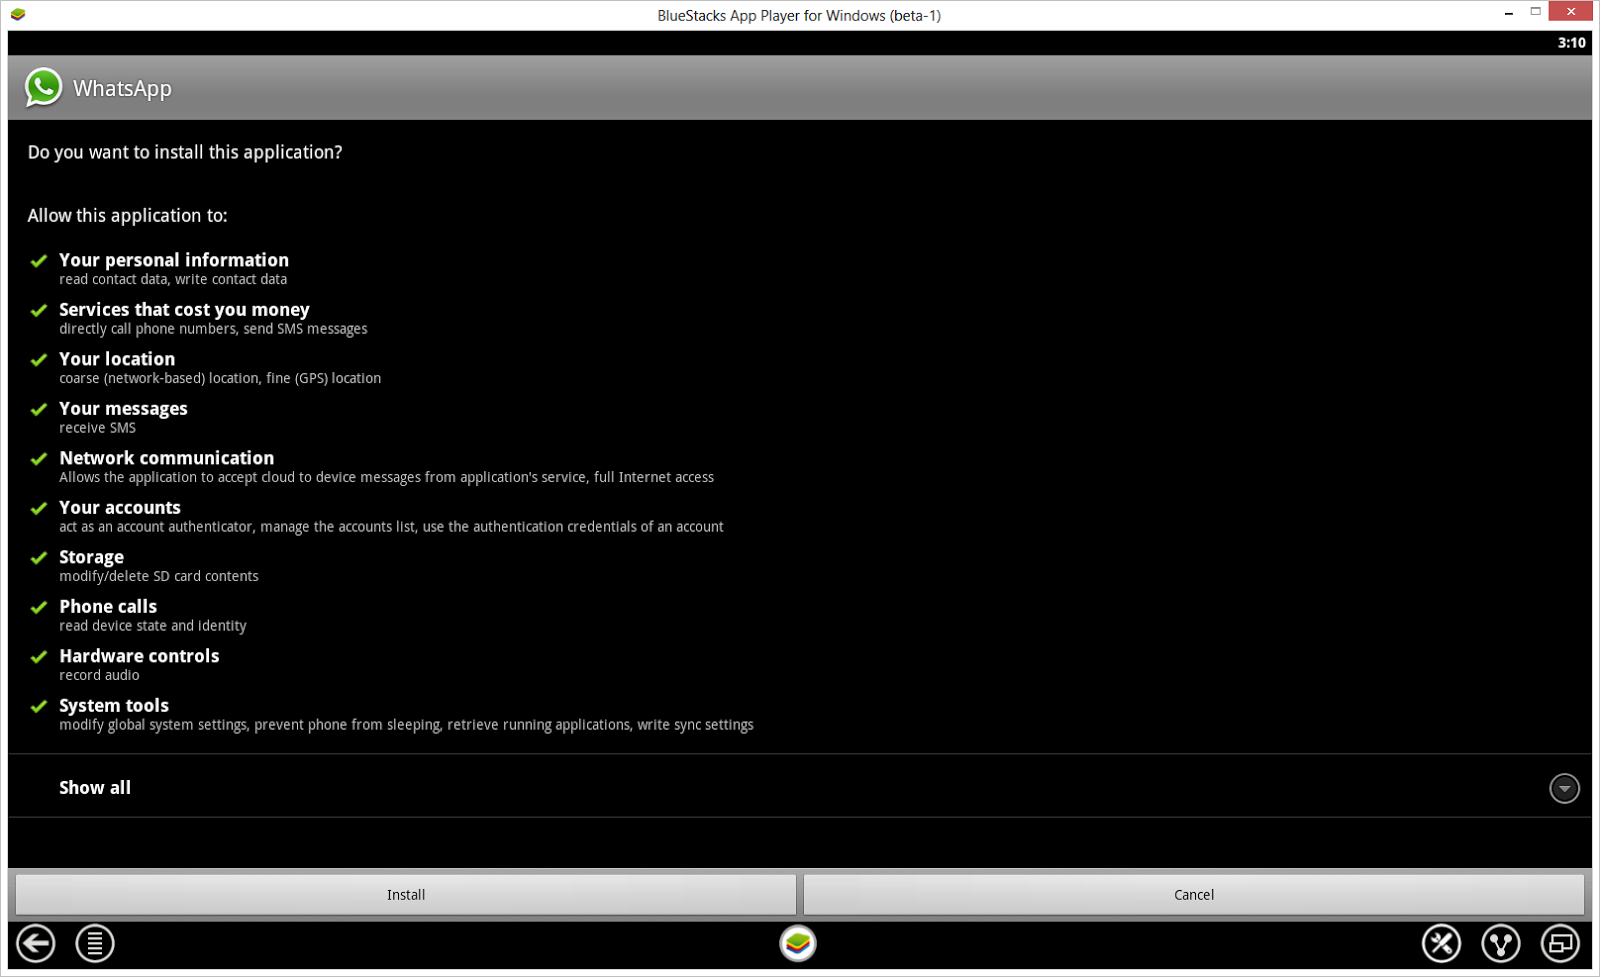
After the download has
finished, you will be prompted to install it. Just as usual press the Install
button and you're done.
You finished installing and
it and you're in fact ready to configure it. Insert your phone number, follow
activation instructions and you're done.
So what you have to do here
is just, be sure to use a phone number you're going to use only from Desktop
and to share that number with anyone you care to chat with. In fact, you have to
add also this numbers to your Address Book, and you can reach it directly by
pressing the Menu button in the bottom-left corner of your BlueStacks
screen and than doing Manage Contacts.
Kindly Bookmark this Post using your favorite Bookmarking service:


Post a Comment
Note: only a member of this blog may post a comment.